
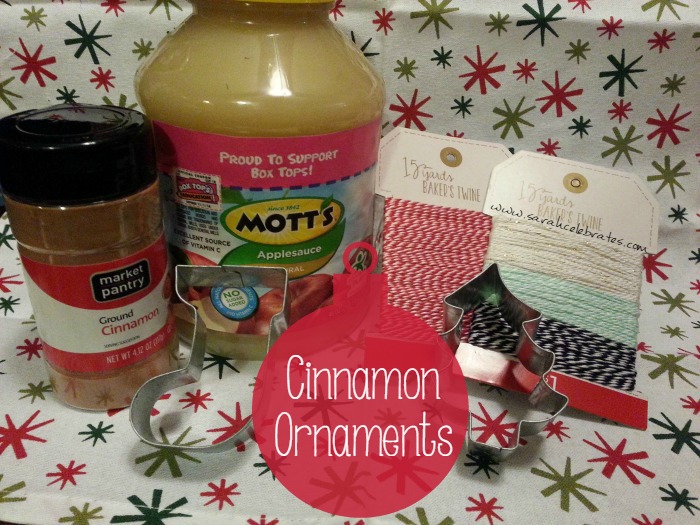
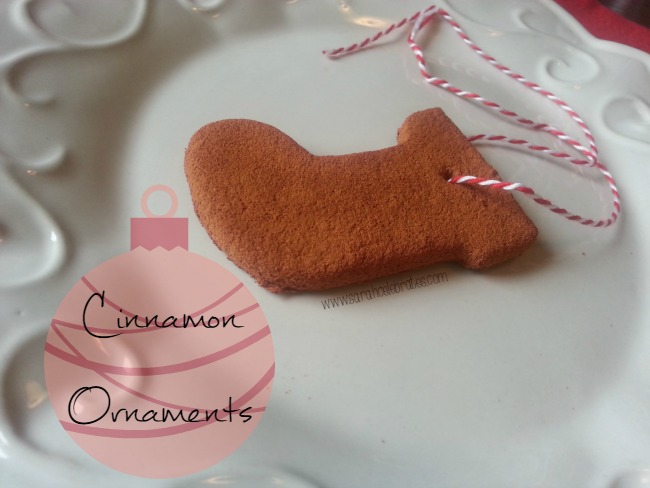
Cinnamon Ornaments
Homemade Cinnamon Ornaments
I set out on making some holiday crafts this year and cinnamon ornaments made the list. Easy peasy, I’ll have these done in a snap. And then I found 5 million how-to’s and recipes…
Ok, maybe not literally 5 million, but there were a lot. Applesauce or no applesauce? Use glue or no glue? Do I want to use cloves and/or nutmeg? Bake them or air dry? Oh my! The options were endless!
I finally settled on using 3 sites/recipes for reference. Yes, three. I mixed and matched the ingredients and steps from Katy Elliott, McCormick and Pillsbury. A blogger and two food related sites… can’t go wrong with that, right? Here we go!
Ingredients
- 1 cup of applesauce
- 1 cup of ground cinnamon (the 4.12 oz bottle was just barely 1 cup)
- Extra cinnamon for rolling and just in case
Supplies
- Measuring cups
- Rolling pin
- Mixing Bowl
- Cookie Cutters
- A place for drying (tray, wire racks, parchment paper, etc)
- Bakers twine or string (for hanging)
Directions
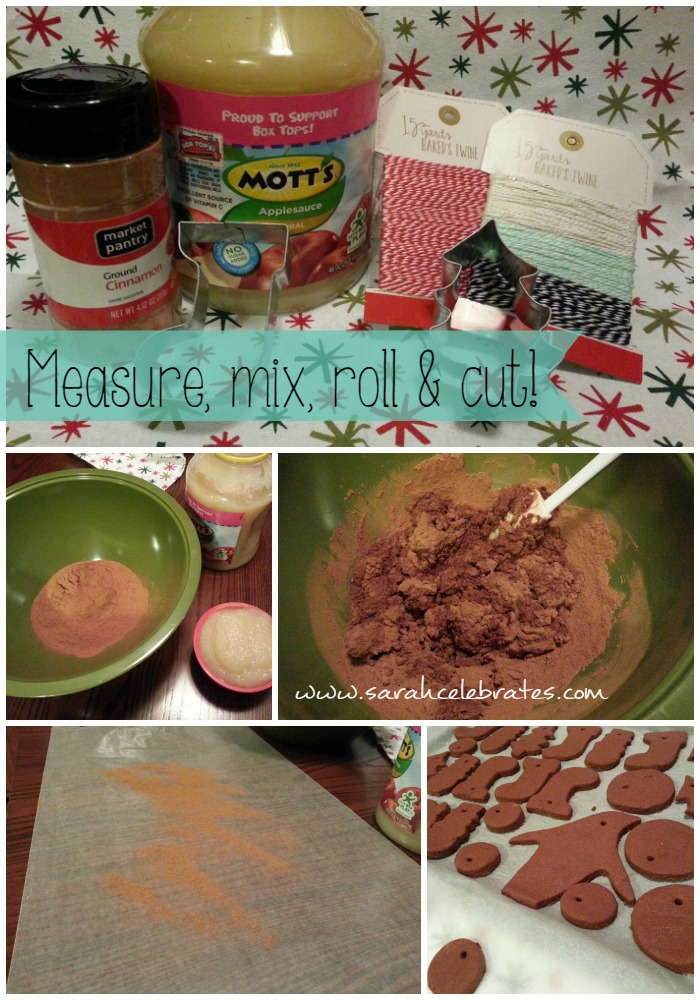
Measure out 1 cup each of applesauce and cinnamon. Mix until a dough-like consistency. You may need to use your hands towards the end to really incorporate the cinnamon.
Add more of either ingredient as needed. Too dry? Add a little more applesauce. Too sticky? More cinnamon it is!
Sprinkle some cinnamon on the surface you will be rolling the dough out on, much like you’d sprinkle flour for cookies. Roll out the dough. I won’t give a specific thickness… I found when cutting the shapes, my cookie cutters worked better on thicker dough and hard cleaner edges, but 1/4 inch is a safe number.
Cut your shapes. Sorry no pictures of rolling and cutting. My hands were a mess.
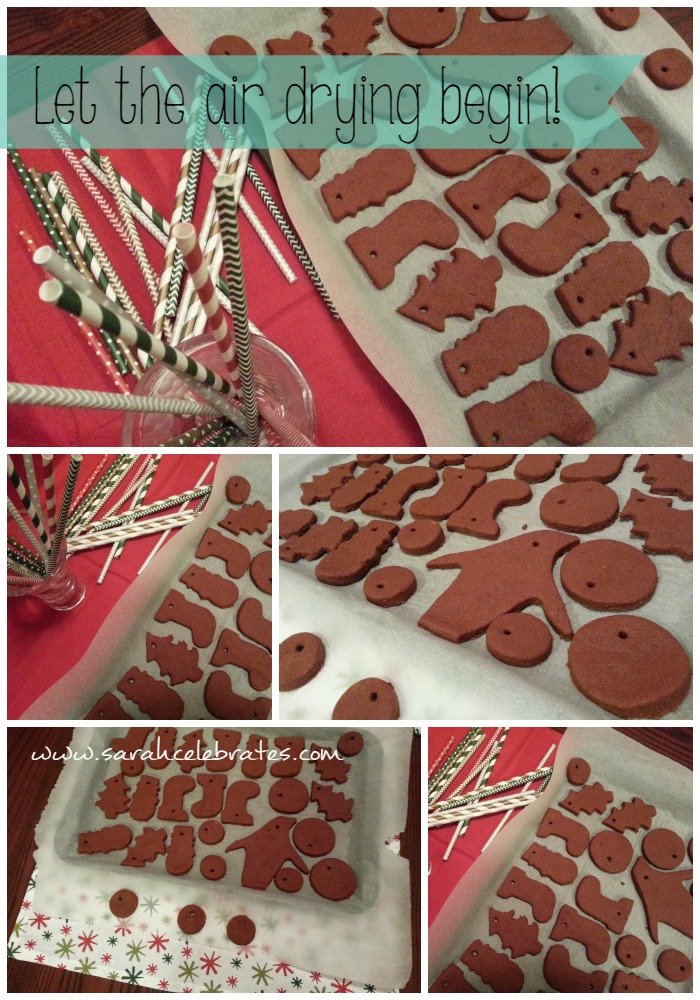
I went with the air drying method versus baking them. Baking can take an hour and a half to 3 hours, depending on the recipe you’re referencing. I had more important things that needed to be in the over that night (cinnamon rolls).
If you need convincing on going the way of air drying, here you go: you hour will smell delicious for days!
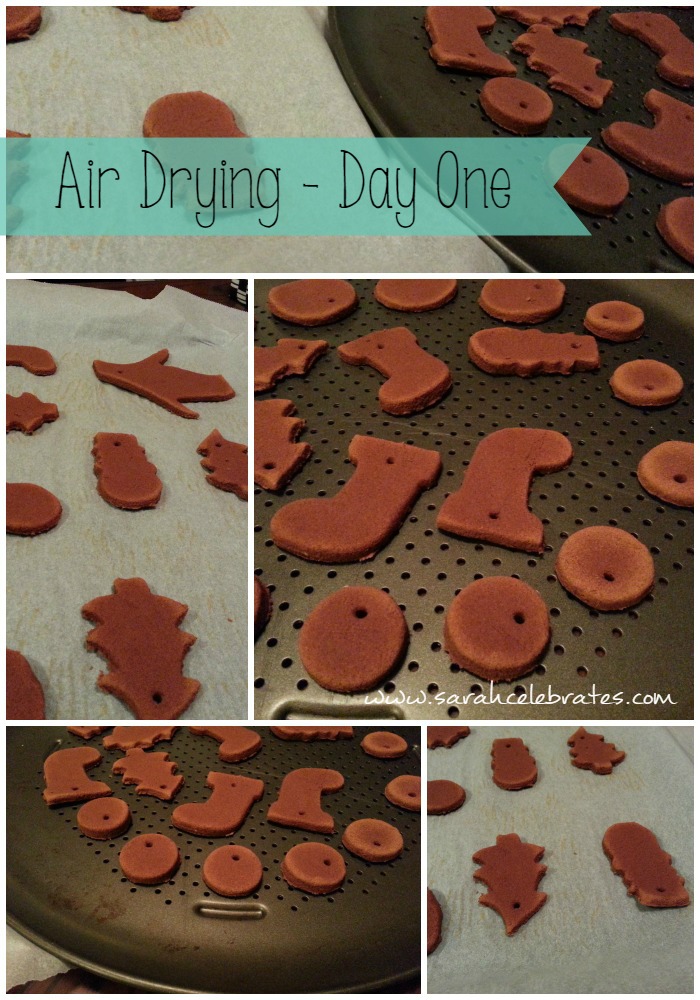
A note on air drying: spread the ornaments out! If you go back to my Let The Air Drying Begin picture, you’ll see all of my ornaments on one cookie sheet with parchment paper. A little crammed and still fairly wet after one day. Some were transferred to my another baking sheet for the next day.
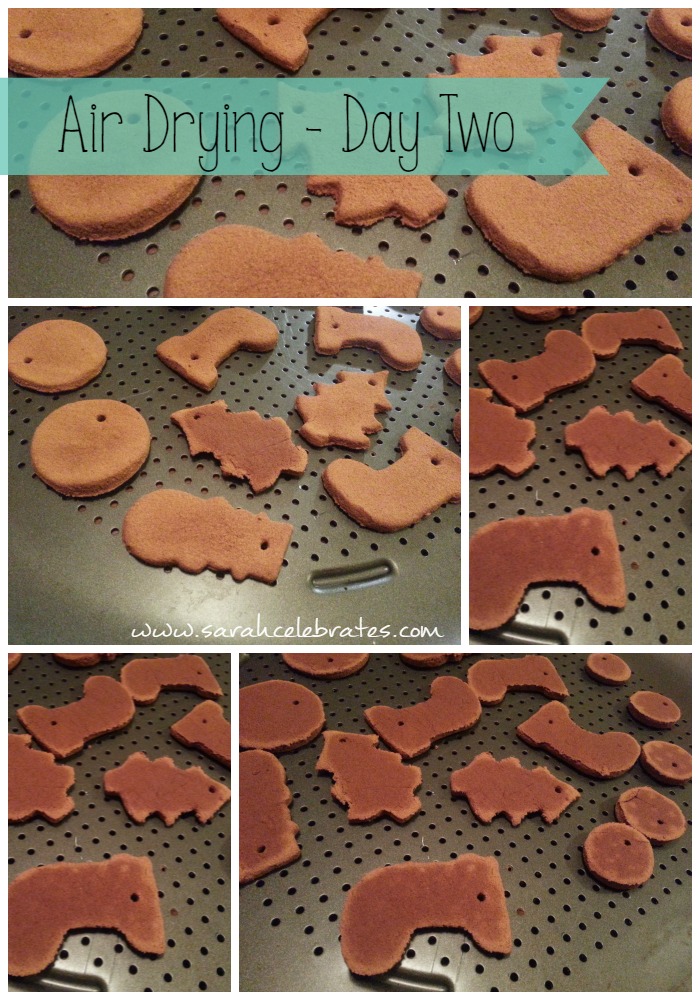
Day Two required a flip of each ornament to dry the other side.
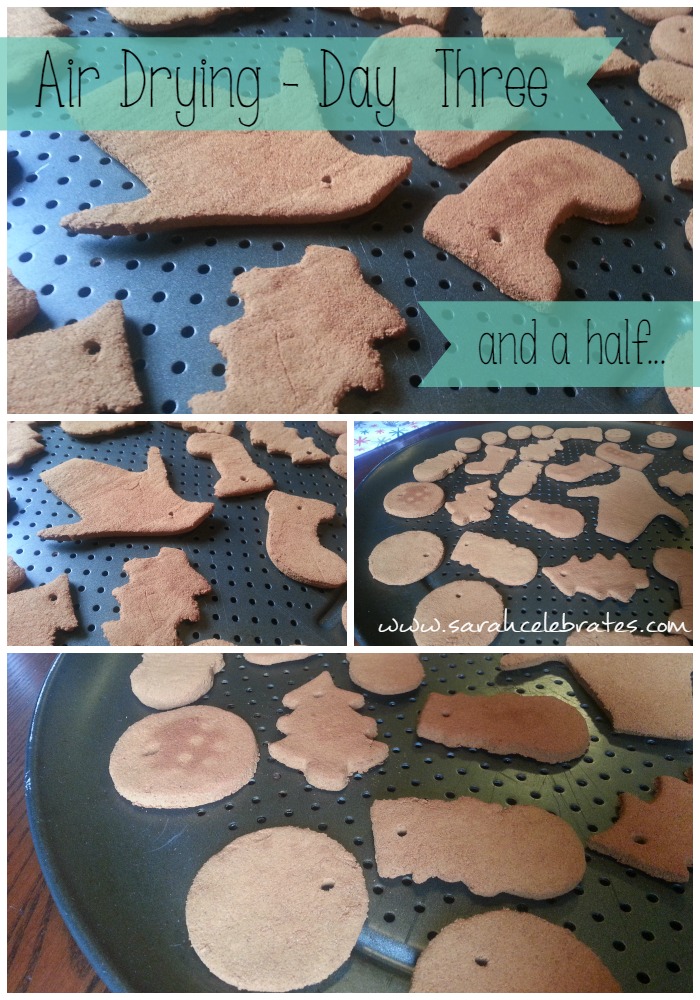
At the 3 1/2 day mark, some ornaments were a little damp in places but most were a completely dry. Too antsy to wait another day, had to get to stringing!
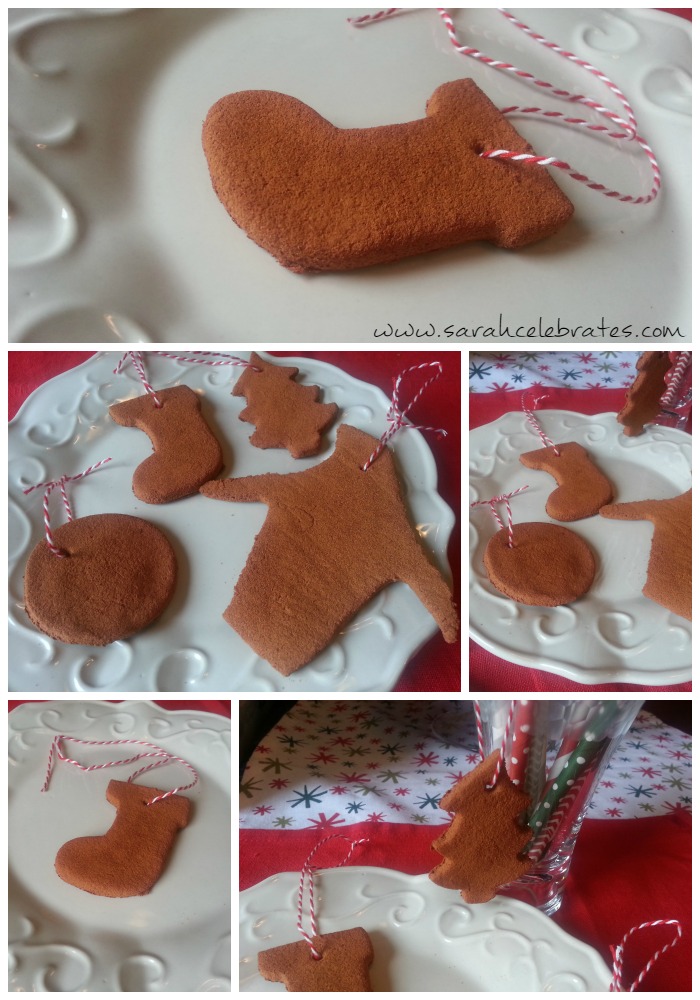
Some baker’s twine and these babies are ready to hang on trees and gifts! I’ll see how these hold up this holiday season and tweek the recipe next year if needed.
Let’s see your cinnamon ornaments! What recipe do you use?
This post was Featured On:
I try to make at least a few of these each year with my niece and nephew. I added a few drops of orange essential oil to my last batch for a complementary scent. Yum!!
Thanks for stopping by! I never thought about adding essential oils to them. Next year =)
Found you through the Dec Hobnob, which I am cohosting. So glad you joined us and I could find your blog…:)
This recipe is great. Just the past weekend, we made some of these at our Church for to be put on the tree. Also wanted to say, I am your newest follower.
-Priyam @ http://priyam-simplejoys.blogspot.com
Yay! I love new friends! Have you made the ornaments in the past? do they hold up over the year?
I have not made these in years…thank you so much for the reminder, I will be making these for sure. Pinning now. We would love for you to share with everyone at Party in Your PJs.
You are welcome. My mom swears we made these when I was little but I don’t remember.
These are the cutest things ever! I would love to do this with little kids!
They’d love it! Equal doses of fun and messy =)